How to Make an AI Mecha Transformation Video From One Photo
 AI Mecha Transformation Team
A complete walkthrough: pick the right photo, choose a trigger object, keep the assembly readable, render a cheap test before the 1080p version, and download a clean 9:16 MP4. One photo is the whole input.
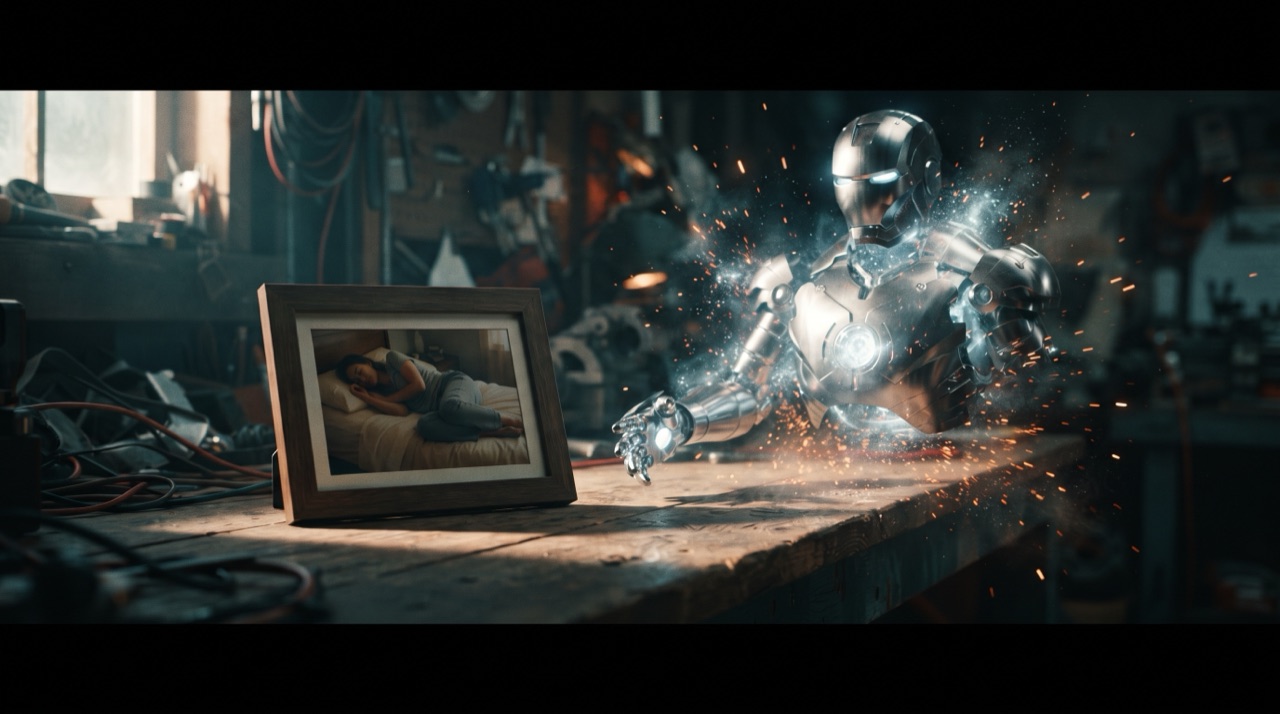
How to Make an AI Mecha Transformation Video From One Photo
You need one photo, one object and about four minutes. This is the full walkthrough for making an AI mecha transformation video, from choosing the picture on your phone to downloading the finished vertical MP4 — plus the three decisions that decide whether the armour folds out cleanly or arrives as a metal smear.
The whole workflow exists because image-to-video models do the animation themselves. There is no rig, no keyframe timeline and no costume. You supply a still, a scene and a single action, and the model decodes the frames in between.
Step 1 — Pick the photo, not the best photo
The right photo is not the most flattering one. It is the one that gives the model the most usable information.
| Photo | Verdict | Why | | ----------------------------------------------------------- | -------- | ------------------------------------------------------------------------------------ | | Sharp front-facing shot, full torso, even light, plain wall | Ideal | Face and body geometry are both readable; nothing competes for detail | | Great portrait, cropped at the shoulders | Workable | Plates can still assemble, but the model has to invent the torso it cannot see | | Group photo, four people, backlit | Fails | Identity anchoring collapses when the subject occupies a small fraction of the frame | | Blurry or heavily compressed snap | Fails | The model cannot pin features it cannot resolve, so the face drifts between frames | | Full body, very wide, subject small in frame | Poor | Few pixels on the face means weak anchoring, and plates attach loosely | | Pet, car or bike, whole subject in frame | Works | The same presets run on non-human subjects; framing is what matters |
Two rules cover almost every case. One subject per photo, and the whole subject inside the frame. Everything else is a preference.
Step 2 — Choose the trigger object
The trigger is what the subject touches, holds or grips so the transformation has a reason to start. It is a storytelling device, and it is also a technical one: it gives the model a beat, a contact point and a focal change to cut around.
Good triggers are:
- Small and bright. A carrot, a lemon, a tomato, a small toy — readable even as a thumbnail.
- Already in the photo, or easy to hold up. The assembly has to happen in the same shot, so the object must be present.
- Something the hand can clear. The forearm is where the first plates close. If the object occupies both hands and the whole chest, the assembly has nowhere to start.
If you want the canonical version, the fruit touch is the format the trend is built on — the hand touches the fruit, plating erupts from the wrist. If you want something with more texture, a bike handlebar gives you rain, sparks and engine sound; a phone screen gives you a holographic build-out. All four are presets in the studio below.
本条视频:30 积分 · 每月 6 条为 $39.90(Pro),或每年 80 条为 $319
Step 3 — Pick a preset, or write one sentence of your own
A preset is a complete prompt: scene, wardrobe, lighting, camera behaviour and the assembly order. Copying one is the difference between a render that works on the first attempt and a render you spend an afternoon re-prompting.
The four here are:
- The carrot touch — kitchen, daylight, plating erupting from the wrist, chest plate seating, visor closing.
- Bike suit-up — rain at night, plates sliding in from the edges of frame, helmet built last with an orange light strip.
- Armour from the screen — a phone held to the chest, holographic panels streaming out and locking one at a time.
- Giant robot rise — a low-angle rooftop beat, a colossal mecha rising behind you while the armour assembles from the boots up.
If you add your own line, add only one. "Make it rain" is fine. "Make it rain, add a cape, change the background to a city and have me walk forward" is four instructions competing for the same generated frames.
Step 4 — Render a cheap test before the expensive one
This is the step people skip and then regret.
| Test render | Credits | What it tells you | | --------------------- | ------- | ------------------------------------------------------------ | | 480p · 12s | 5 | Whether identity holds and whether the assembly order reads | | 720p · 12s (standard) | 10 | Whether the armour detail survives at publishable resolution | | 1080p · 12s (default) | 30 | The delivery version |
Spend 5 credits on a 480p pass first. If the face has drifted or the plates have smeared, you have learned that for one-sixth of the price of the delivery render, and you can fix the photo or the prompt before committing. Clip length scales linearly from the twelve-second rate and rounds up to a whole credit, so a 24-second 720p render costs 20 credits.
Step 5 — Read the result like an engineer
Watch the first render once for the story and a second time for faults. In order of how often they show up:
- Extra plating or a second head. Almost always a pose the photo did not show being asked for anyway. Match the input to the pose you want instead of describing hidden geometry.
- A generic Iron Man chest. The model reaches for the most legible armour shape it knows. The fix is in the chest-plate piece: forbid the specific shape, describe the seams and let the plate stay unlit.
- The face changes at second eight. Anchoring lost mid-clip, usually because the prompt asked for the body to move far from the photo's pose.
- A sound that does not match. Audio is generated with the picture; if you asked for a hum but described a heavy bolt, expect a mismatch.
Step 6 — Download and frame it for the feed
The output is a vertical 9:16 MP4 with no watermark. Before posting:
- Leave a title-safe margin. Platform UI eats the bottom fifth and the right edge. Keep the face in the upper-middle third.
- Cut in on first frame. These clips work best with the trigger already in motion, because the hook has to land before the scroll.
- Keep the original audio. The hydraulic sound is generated with the video and is part of why the format reads as mechanical.
More on platforms, safe areas and caption timing in the vertical format guide.
How the credits work
| Where the credits come from | Amount | | --------------------------- | --------------------------------------------- | | Google sign-in, once | 30 credits | | Email sign-up | 0 up front, then daily check-ins | | Check-in sequence | 10, 20, 30, then 10 for each of the next four | | Check-in cooldown | 24 hours between claims |
30 credits from a Google sign-in is exactly one default 1080p render, or six 480p tests, or three standard 720p clips. After that, subscriptions and one-time packs both exist, and neither expires silently: monthly and yearly credits last for their billing period, one-time packs never expire, and credits that expire sooner are always spent first. Failed renders are refunded to the balance they came from.
FAQ
Do I need more than one photo? No. The pipeline is single-photo by design. Extra photos do not improve anchoring here; a better first photo does.
Can I use a photo of a pet, a car or a bike? Yes, and the results are often more striking than the human version, because mechanical plating on a non-human silhouette is naturally readable. Framing rules are the same: one subject, whole subject in frame.
How long should the clip be? Twelve seconds is the default delivery and the length the presets are written for. One action fits comfortably; three do not. If you need a longer sequence, render separate clips and join them rather than lengthening one prompt into a story.
Why is my first render blurry? Because you rendered at 480p. That tier exists to test composition and identity cheaply, not to publish. Re-render the same prompt at 720p or 1080p once the test looks right.
Do I need to write the prompt myself? No. Pick a preset and press Generate. If you want to customise, copy the preset prompt into the box and change one clause.
Is the output watermarked? No, at any resolution or tier. The MP4 downloads clean and private to your account.
What if nothing happens when I generate? The button checks for a photo or a prompt first, and it shows the exact credit cost before charging. If the render itself fails, the credits come back; if it fails repeatedly, the troubleshooting list is the place to start.
Everything on this page happens in one place: start at the studio and keep the 480p pass for testing until the face holds.